Your hardwood floors look dull no matter how often you mop them. That hazy film, those stubborn streaks, the grime settling into the grain—regular cleaning just moves it around instead of removing it.
Deep cleaning tackles what routine maintenance can't reach. This guide covers how to identify when your floors need it, the right tools and solutions for your finish type, a step-by-step process that protects your wood, and when professional help makes more sense than DIY.
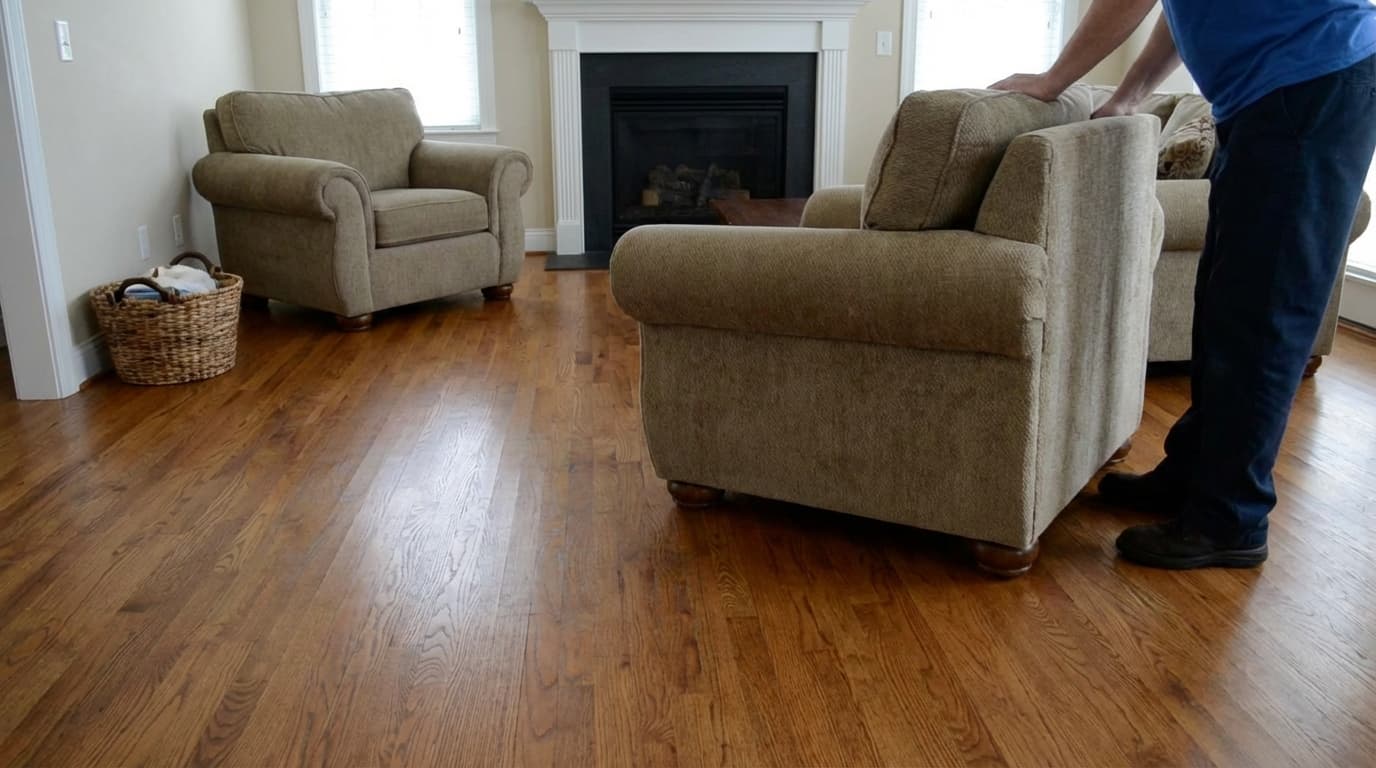
What is hardwood floor deep cleaning
Deep cleaning goes beyond your weekly mop routine. While regular cleaning picks up surface dust and light dirt, deep cleaning removes the embedded grime, product buildup, and sticky residue that accumulates in wood grain over months or years.
Here's the difference: routine mopping keeps floors looking okay. Deep cleaning actually restores them. The process involves thorough dry cleaning first, then applying a pH-neutral solution in small sections, scrubbing gently with the wood grain, and drying completely. Most homeowners find their floors look noticeably brighter after a proper deep clean.
Signs your hardwood floors need deep cleaning
You might be wondering if your floors actually need a deep clean or just better maintenance. A few telltale signs can help you figure that out.
Dull or cloudy appearance despite regular mopping
If your floors look hazy right after you clean them, you're likely dealing with film buildup. This happens when cleaning products, foot traffic oils, and airborne particles layer on top of each other over time. Regular mopping just moves this film around rather than removing it.
Sticky or tacky residue on the surface
Walk barefoot across your floors. Do they feel slightly sticky or grab at your feet? That's product buildup, usually from using too much cleaner or not rinsing properly after mopping.
Visible grime trapped in wood grain
Take a close look at your floors in natural light. If you notice darker lines following the grain pattern, dirt has settled into the wood's natural texture. Surface cleaning won't reach this embedded grime.
Discoloration or yellowing
Yellowing often points to wax or acrylic buildup, especially in older homes. Previous owners may have used wax-based products on polyurethane finishes, which creates a yellowed, cloudy layer over time.
Streaks that won't go away
When streaks persist no matter how carefully you mop, the problem runs deeper than surface dirt. Buildup underneath is preventing your cleaner from working properly.
How to identify your hardwood floor finish
Before you start any deep cleaning, take a moment to figure out what type of finish protects your floors. Using the wrong products on the wrong finish can cause real damage.
Surface finishes
Polyurethane and similar coatings sit on top of the wood like a protective shell. If your home was built or had floors refinished in the last 30 years, you almost certainly have a surface finish. Water beads up on these floors rather than soaking in.
Penetrating oil finishes
Oil-based finishes work differently. They soak into the wood grain instead of coating the surface. These finishes require specific cleaning products and a gentler approach.
How to test your floor finish at home
Try this simple test: place a few drops of water on your floor in a hidden spot, like inside a closet. Watch what happens over the next few minutes.
- Water beads up: You have a surface finish like polyurethane
- Water soaks in gradually: You likely have a penetrating oil finish
You can also scratch a hidden area lightly with a coin. Surface finishes show a clear, visible scratch line.
Tools and materials for deep cleaning wood floors
Gathering everything beforehand makes the job go faster. Here's what you'll want on hand.
Essential tools
- Soft-bristled broom or vacuum with floor brush attachment: Skip the beater bar, which can scratch your finish
- Microfiber flat mop: Better than string mops for controlled moisture
- Spray bottle: Gives you precise control over how much solution hits the floor
- Clean microfiber cloths or old towels: For immediate drying
- Fans: Speed up drying time significantly
Cleaning materials and supplies
For the cleaning solution itself, you have two options. Commercial pH-neutral hardwood cleaners work well and are formulated specifically for wood floors. Alternatively, you can mix your own: 2 cups water, ¼ cup white vinegar, ½ teaspoon dish soap, and a few drops of essential oil if you want a pleasant scent. Keep a bucket of clean rinse water nearby too.
Best cleaning solutions for hardwood floors
Choosing the right cleaner matters more than you might think. The wrong product can dull your finish or leave residue that attracts more dirt.
Safe cleaners for surface-finished floors
pH-neutral cleaners are your safest bet for polyurethane and similar finishes. The term "pH-neutral" means the cleaner isn't acidic or alkaline, so it cleans without stripping the protective coating. Commercial options like Bona are designed specifically for this purpose. The DIY vinegar solution works for lighter cleaning, though commercial products typically handle heavy buildup better.
Safe cleaners for oil-finished floors
Oil-finished floors often need manufacturer-specific products or gentle soap-based cleaners. Before using anything on an oil finish, check with your floor's manufacturer or installer for recommendations.
Products to never use on hardwood
Some common household cleaners can damage hardwood floors permanently:
- Vinegar in high concentrations: Diluted is fine, but straight vinegar dulls finishes over time
- Ammonia or ammonia-based cleaners: Too harsh for wood finishes
- Wax-based products on polyurethane: Creates cloudy buildup that's difficult to remove
- All-purpose household cleaners: Often contain ingredients that leave residue
- Abrasive scrubbers or steel wool: Scratch the finish
How to deep clean hardwood floors step by step
Now for the actual process. Plan on setting aside a few hours, and work in sections so you're not walking on wet floors.
1. Clear furniture and prepare the room
Move furniture, rugs, and anything else sitting on the floor. If clearing the entire room isn't realistic, work in sections and shift items as you go.
2. Vacuum or dry mop to remove loose debris
This step is easy to skip but makes a real difference. Loose dirt and grit act like sandpaper when you start wet mopping, potentially scratching your finish. Work with the wood grain using a vacuum floor brush attachment or microfiber dust mop.
3. Apply your cleaning solution
Spray a small section, roughly 4x4 feet, with a light mist. The key word here is light. You want the floor damp, not wet. Even if you've used a product before, test it in a hidden spot first.
4. Scrub stubborn spots and high-traffic areas
Use a soft cloth or mop pad with gentle pressure, always working with the grain. For stuck-on grime, let the solution sit for 30 to 60 seconds before wiping. This gives it time to break down the buildup.
5. Damp mop with clean water
After cleaning each section, go over it with a clean, barely damp mop to remove any cleaner residue. Change your water frequently. Dirty rinse water just redistributes grime across your floors.
6. Dry the floor completely
Wipe each section with dry towels or microfiber cloths right after damp mopping. Then let the floor air dry completely, which usually takes 2 to 4 hours. Fans help speed this up considerably. Standing water and hardwood don't mix.
Can you use a steam mop on hardwood floors
This comes up a lot, and the answer is no. Steam mops force heat and moisture into the seams and grain of your wood, which can cause warping, cupping, and finish damage. The tricky part is that damage often doesn't show up immediately. Your floors might look fine for months before problems appear. Stick with damp mopping instead.
Hardwood floor deep cleaning mistakes to avoid
A few common errors can turn a helpful deep clean into an expensive problem.
Using too much water or soaking the floor
Water is hardwood's biggest enemy. Excess moisture seeps into seams and grain, causing warping, cupping, and finish breakdown. Your mop should feel damp when you touch it, not dripping.
Using vinegar, ammonia, or harsh chemicals
These products can strip or dull your finish gradually. Floors might look clean at first, but the damage accumulates with each use.
Skipping the dry cleaning step
Wet mopping over loose dirt creates muddy residue and can grind grit into your finish, leaving fine scratches.
Not drying floors after wet mopping
Immediate drying prevents water damage and eliminates streaking. This step takes just a few extra minutes but protects your investment.
What professional hardwood floor deep cleaning includes
Sometimes DIY cleaning isn't enough, especially for floors with years of buildup or stubborn residue.
Professional equipment and commercial-grade products
Professionals use auto scrubbers, commercial extractors, and industrial-strength pH-neutral solutions that aren't available at hardware stores. This equipment removes more buildup in less time with less risk of damage than household tools.
How the deep cleaning process works
Professional deep cleaning typically starts with an assessment of your floor's condition and finish type. Then comes commercial-grade cleaning, extraction of the dirty solution, and thorough drying. At OneDayFinish, our Revival Process follows this systematic approach to deep clean, rejuvenate, and protect your floors in a single visit.
How long professional cleaning takes
Most professional deep cleaning jobs wrap up in one day. OneDayFinish typically finishes same-day, so your home returns to normal quickly. No waiting around for days wondering when the job will be done.
DIY vs professional hardwood floor cleaning
Both approaches have their place. The right choice depends on your specific situation.
| Factor | DIY Deep Cleaning | Professional Deep Cleaning |
|---|---|---|
| Best for | Light to moderate soiling | Heavy buildup, large areas |
| Equipment | Basic household tools | Commercial-grade equipment |
| Time | Several hours of your time | Done for you in one day |
| Results | Good for maintenance | Deeper clean, longer-lasting |
| Risk | Potential damage if done incorrectly | Handled by trained technicians |
When DIY deep cleaning works
DIY makes sense for regular maintenance, smaller rooms, and light soiling. If your floors respond well to routine cleaning with some extra effort, you can likely handle deep cleaning yourself.
When to hire a professional
Professional help makes more sense for years of accumulated buildup, wax or acrylic removal, large square footage, or floors that don't respond to DIY methods. OneDayFinish offers free estimates within 24 hours. No pressure, just honest advice about what your floors actually need.
How to maintain hardwood floors after deep cleaning
Once your floors are deep cleaned, a little regular maintenance keeps them looking good longer.
Daily and weekly floor care
Dust mop or vacuum regularly to prevent dirt from grinding into the finish. Wipe up spills right away, and use doormats at entrances to catch debris before it reaches your floors.
Monthly and seasonal maintenance
Damp mop with pH-neutral cleaner about once a month. Move furniture periodically to clean underneath and check for wear patterns developing in high-traffic areas.
When to schedule your next deep clean
Most floors benefit from professional deep cleaning once or twice per year. Homes with heavy foot traffic, kids, or pets may need more frequent service.
Get your hardwood floors deep cleaned in one day
For Denver-area homeowners who want professional results without the hassle, OneDayFinish delivers. Our Revival Process deep cleans, rejuvenates, and protects your floors, typically in just one day. We're licensed, insured, and back every job with a 100% satisfaction guarantee.
- Free estimates within 24 hours
- No pressure, clear pricing
- Family-owned, local Denver company
FAQs about hardwood floor deep cleaning
How much does professional hardwood floor deep cleaning cost?
Costs vary based on square footage, floor condition, and location. OneDayFinish provides free, written estimates with no hidden fees. The price we quote is what you pay.
How often should hardwood floors be deep cleaned?
Most hardwood floors benefit from professional deep cleaning once or twice per year. High-traffic homes or households with pets may need more frequent service.
Can deep cleaning remove scratches from hardwood floors?
Deep cleaning removes dirt and buildup but cannot remove scratches. If your floors have visible scratches, screening and recoating or full refinishing may be better options.
Is professional hardwood floor cleaning worth the cost?
Professional cleaning makes sense when DIY methods aren't removing buildup, you have large areas to clean, or you want longer-lasting results without risking damage to your floors.
How do you remove years of grime from hardwood floors?
Removing years of accumulated grime typically requires professional equipment and commercial-grade cleaners. Heavy buildup, especially wax or acrylic layers, often won't respond to DIY methods alone.
What is the difference between deep cleaning and refinishing hardwood floors?
Deep cleaning removes dirt and buildup from your existing finish. Refinishing sands down to bare wood and applies new stain and finish. Deep cleaning is faster, less invasive, and costs significantly less.
Ready to get started?
Schedule your free estimate today.
(720) 730-8764 Get Free Estimate
Call now for a free phone estimate
- Free estimates, no obligation
- Licensed, insured, background-checked
- 100% satisfaction guaranteed
Mon–Fri: 8 am – 5 pm · Sat: 8 am – 12 pm · Sun: Closed